Uploading and sharing
Upload a gallery
Uploading & Delivery
Get photos into GalleryID via browser upload, shareable upload links, or FTP.
Browser Upload
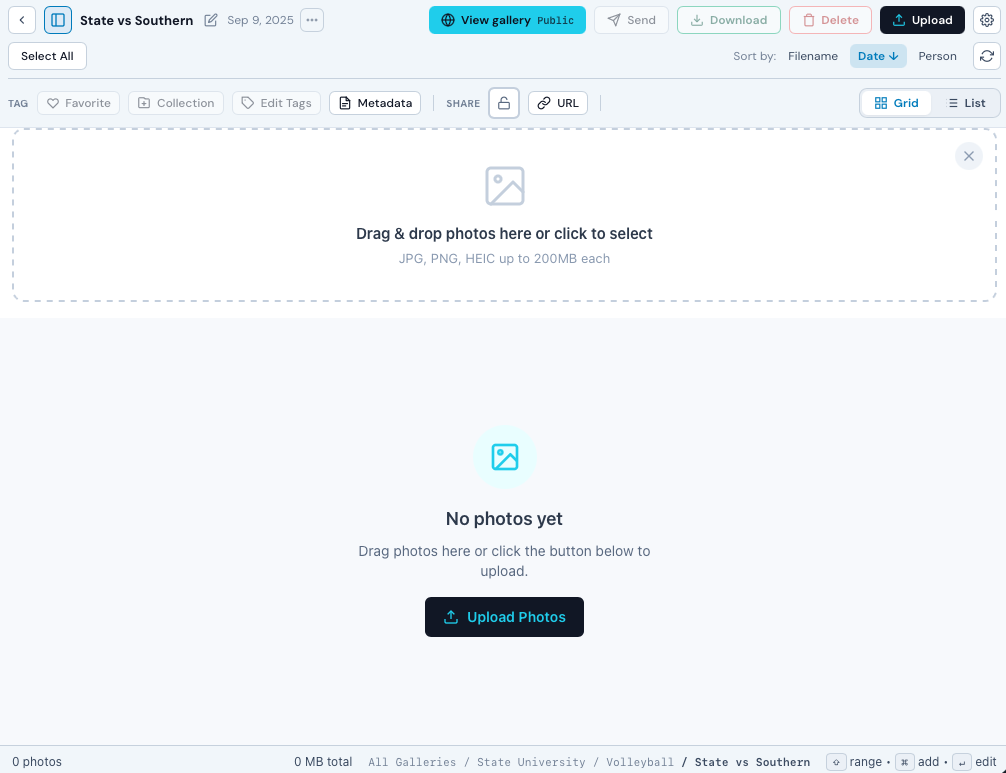
The fastest way to add photos. Open any gallery, click Upload in the toolbar, then drag files onto the drop zone or click to browse.
Upload Steps
- 1
Open a gallery
Navigate to the gallery where you want to upload photos in the Gallery Browser. - 2
Click Upload
Click the Upload button in the toolbar. - 3
Add files
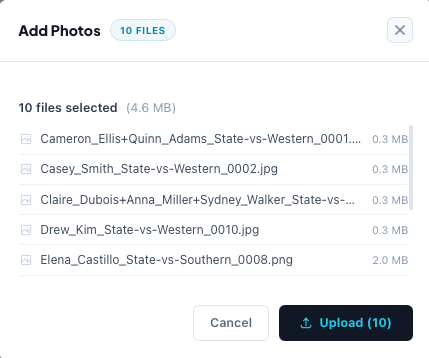
Drag and drop photos onto the drop zone, or click Select Files to browse. You can add multiple batches before starting the upload. - 4
Upload
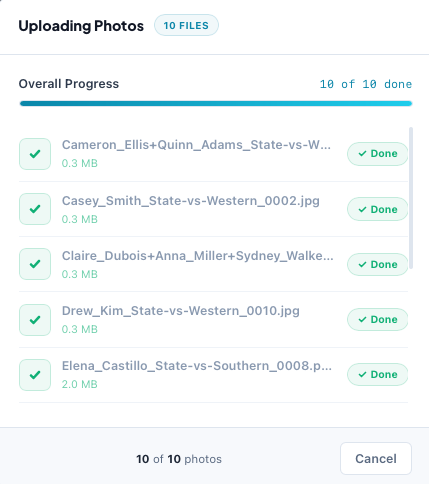
Click Upload Photos. Each file shows individual progress and the overall progress bar tracks the full batch.
Supported Formats
| Format | Extensions | Notes |
|---|---|---|
| JPEG | .jpg, .jpeg | Recommended, best compatibility and smallest file size |
| PNG | .png | Supported, typically larger files |
| HEIC | .heic | iPhone photos, auto-converted on upload |
| TIFF | .tif, .tiff | High-quality uploads, larger files |
| RAW | .cr2, .cr3, .nef, .arw, .dng, .raf, .rw2, .orf, .pef, + more | Camera RAW files from Canon, Nikon, Sony, Fuji, Leica, and others |
Upload Limits
- •Maximum file size: 50 MB per photo
- •Monthly photo limit varies by subscription plan
Check Settings → Billing to see your current usage and plan limits.
Drag & Drop from Desktop
You can also drag image files directly from your computer onto a gallery in the Gallery Browser. The upload modal opens automatically with the dropped files pre-loaded.
Upload Links
Upload links let others upload photos directly to your galleries without a GalleryID account. Ideal for collecting photos from photographers, assistants, parents, or media partners.
Creating an Upload Link
- 1
Open the gallery menu
Right-click a gallery in the sidebar, or click the … menu on a gallery card. - 2
Select 'Create Upload Link'
Choose Create Upload Link from the context menu. - 3
Configure the link
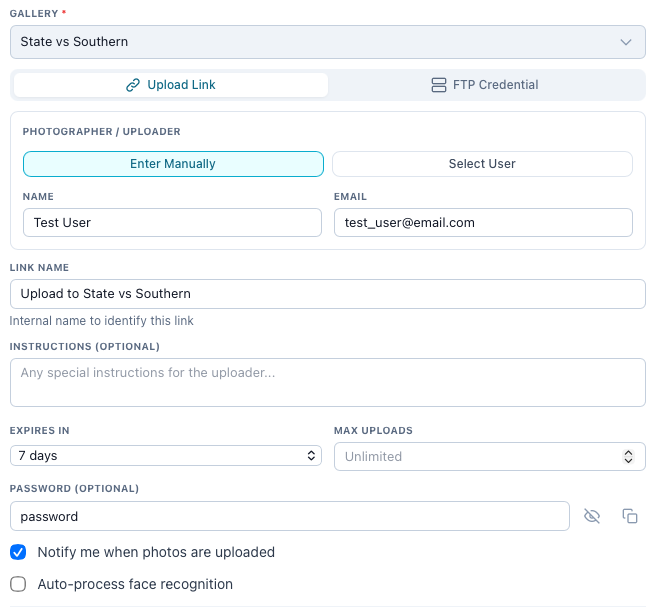
Set the link name, expiration, upload limit, optional password, and notification preferences. - 4
Share
Copy the link to your clipboard, or send an email invitation directly from the modal.
Link Options
| Option | Description |
|---|---|
| Link name | A label to identify this link (e.g., "Parent Photos, Cal vs Stanford") |
| Photographer | Pre-assign photographer credit, select an existing user or type a new name |
| Custom instructions | Message displayed on the upload page (e.g., "Please upload action shots only") |
| Expiration | When the link becomes inactive, Never, or 1 / 3 / 7 / 14 / 30 / 90 days |
| Max uploads | Maximum number of photos allowed through this link (leave blank for unlimited) |
| Password | Require a password to access the upload page |
| Notify on upload | Get notified each time someone uploads through this link |
| Auto-process faces | Automatically run facial recognition on uploaded photos |
| Notify on completion | Alert both uploader and link creator when processing finishes |
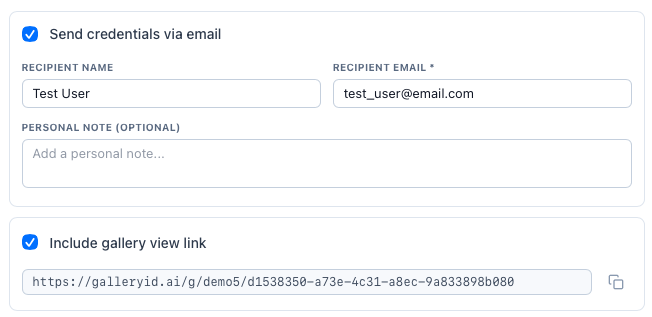
| Include gallery view link | Attach a view-only share link so uploaders can also browse the gallery |
Sending Email Invitations
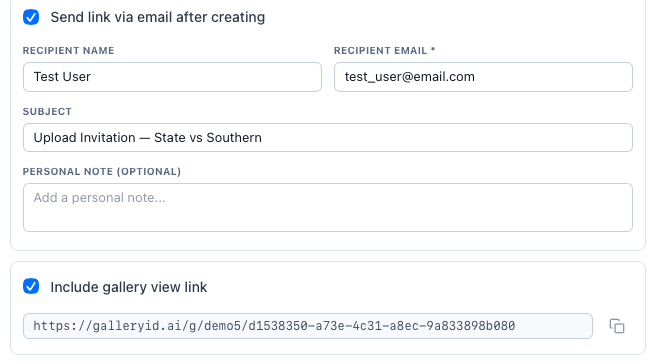
Instead of copying the link manually, you can email an invitation directly from GalleryID:
- 1After creating the upload link, expand the Send Email section.
- 2Enter the recipient's email address.
- 3Optionally customize the subject line and message body.
- 4Click Send to deliver the branded invitation.
What Uploaders See
When someone opens your upload link, they see a branded upload page showing:
- •Gallery title, client name, and photographer info
- •Uploads remaining (if a limit was set)
- •Link expiration date
- •Your custom instructions in a highlighted banner
- •A drag-and-drop upload zone
Managing Upload Links

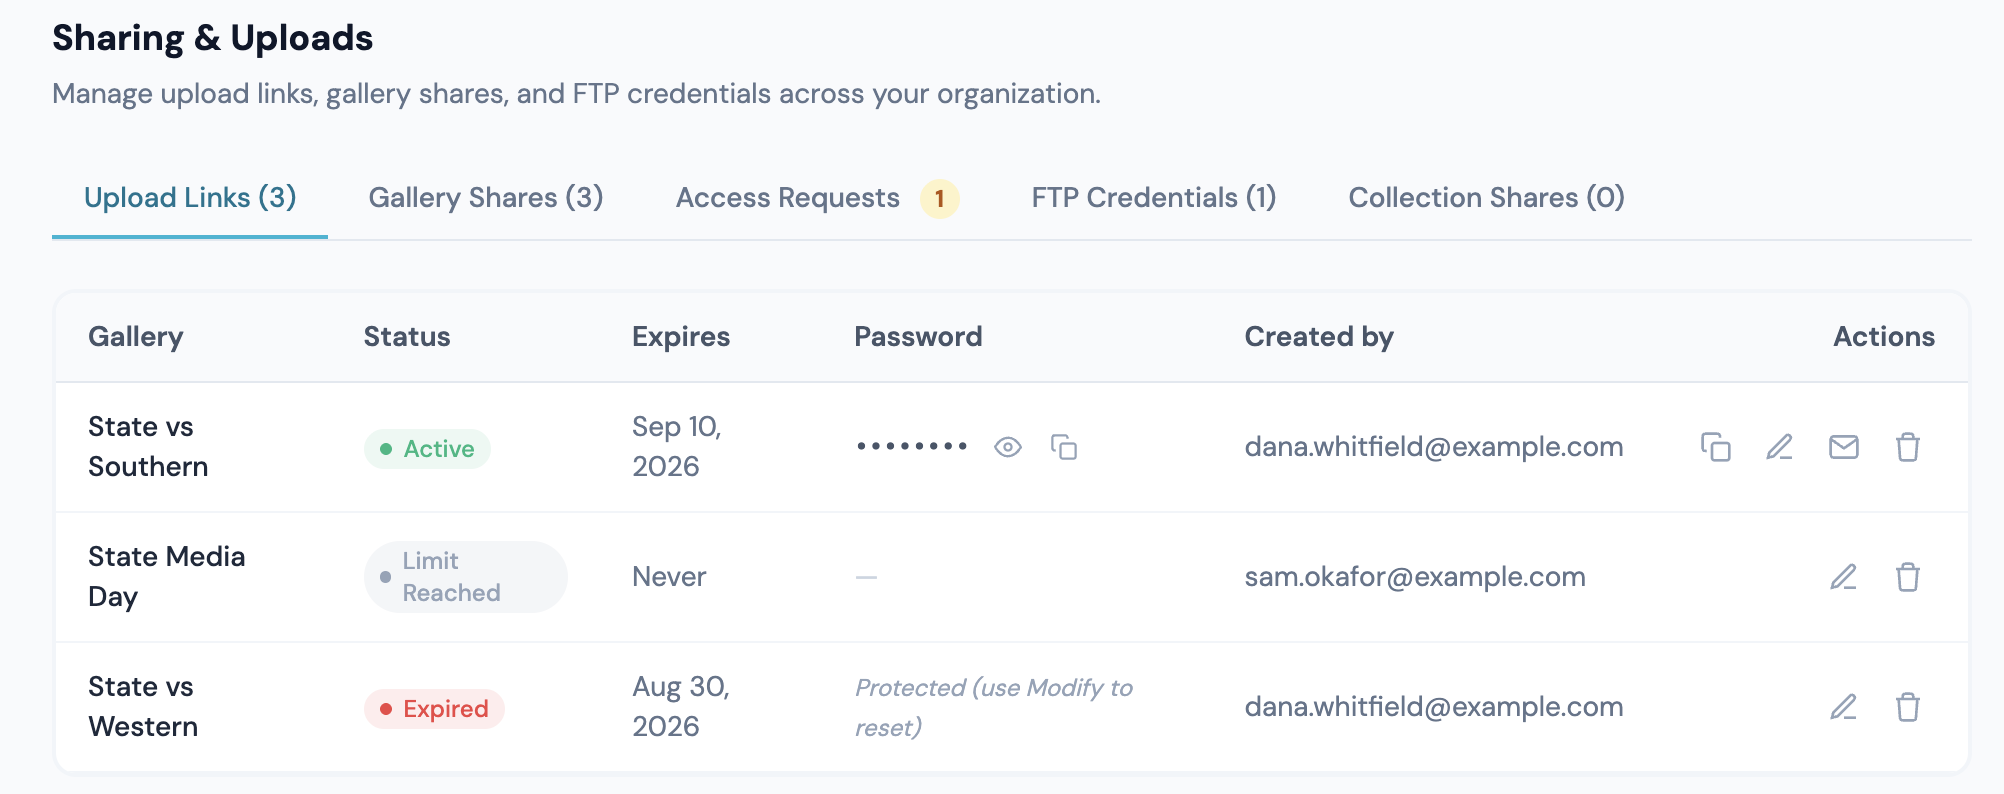
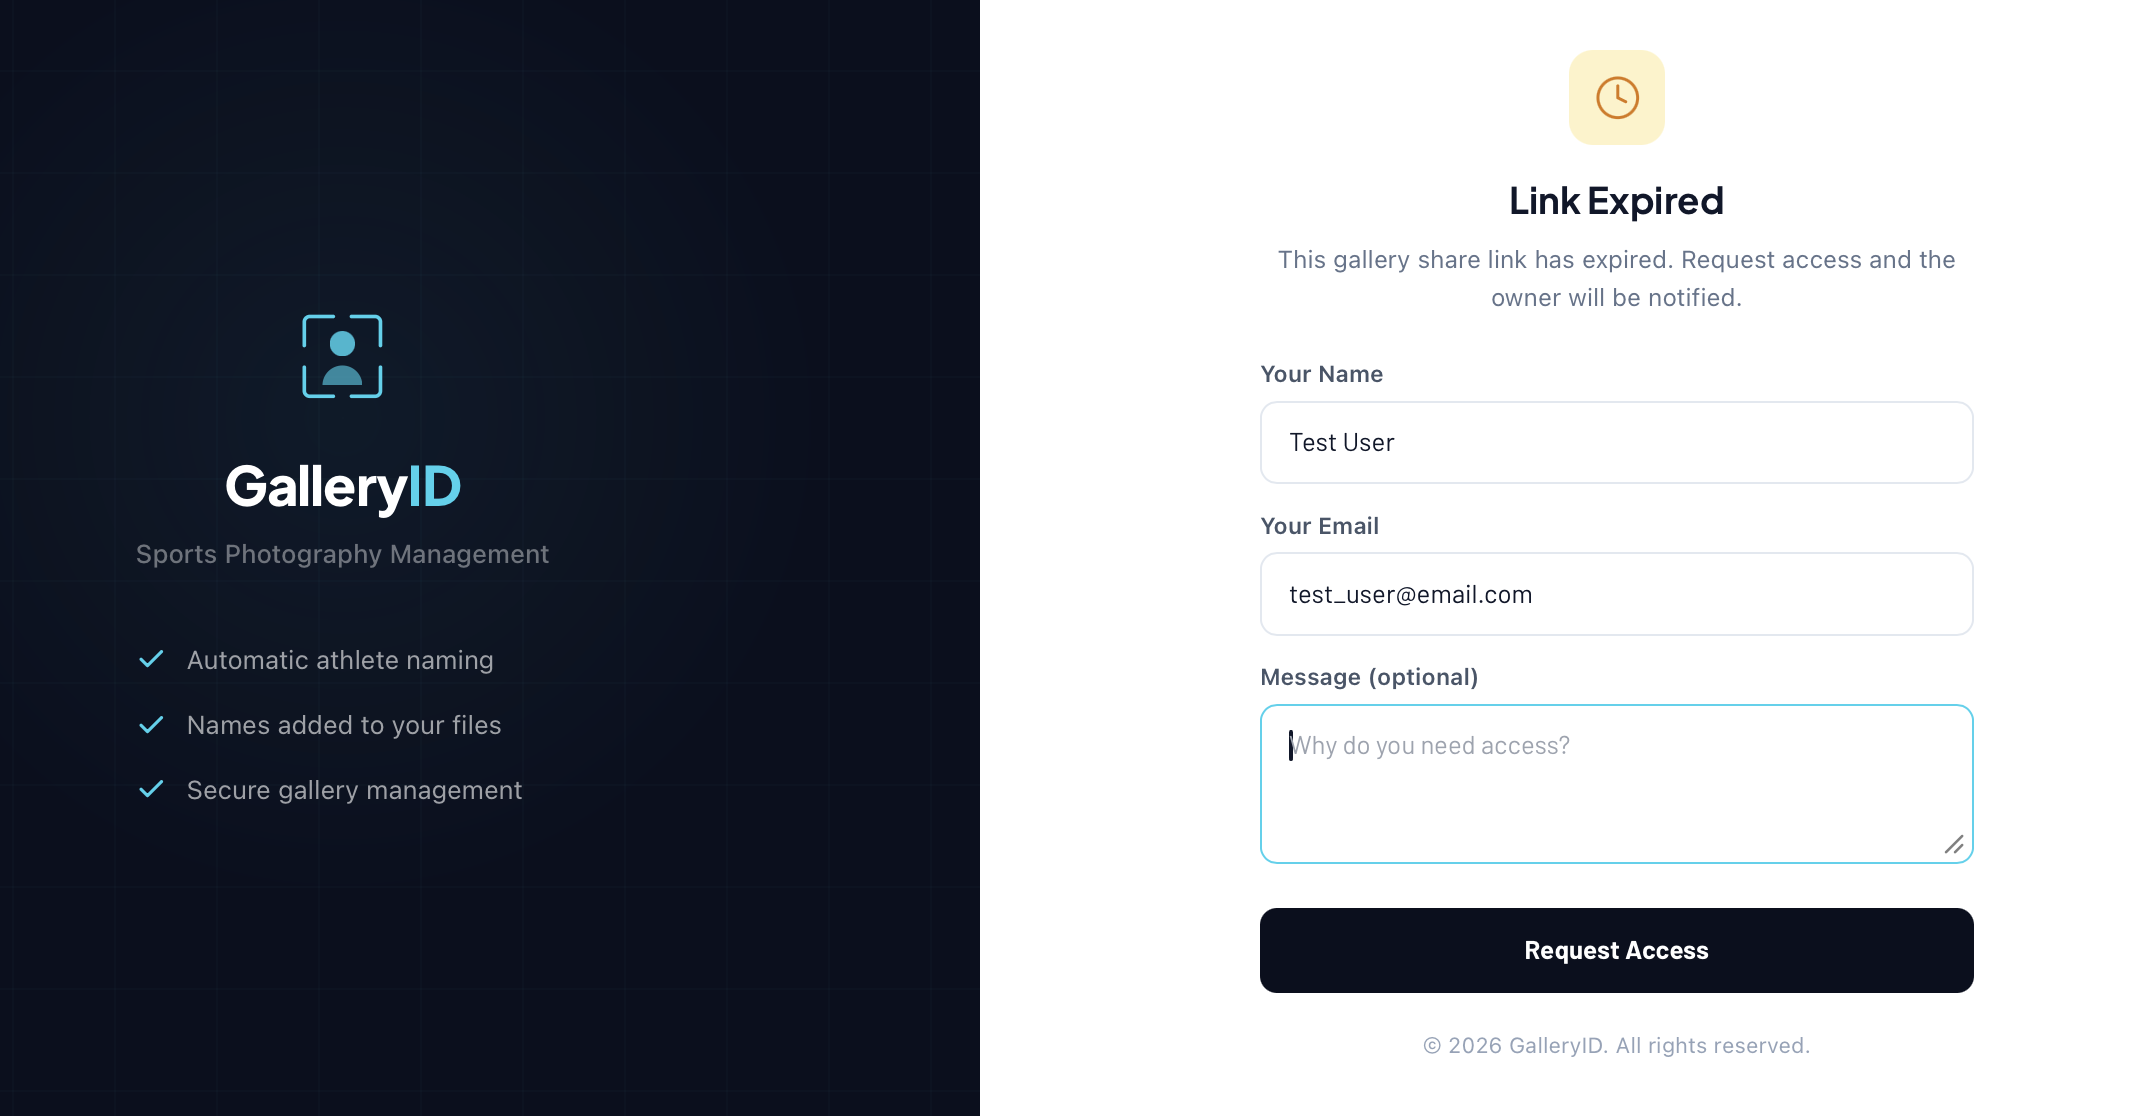
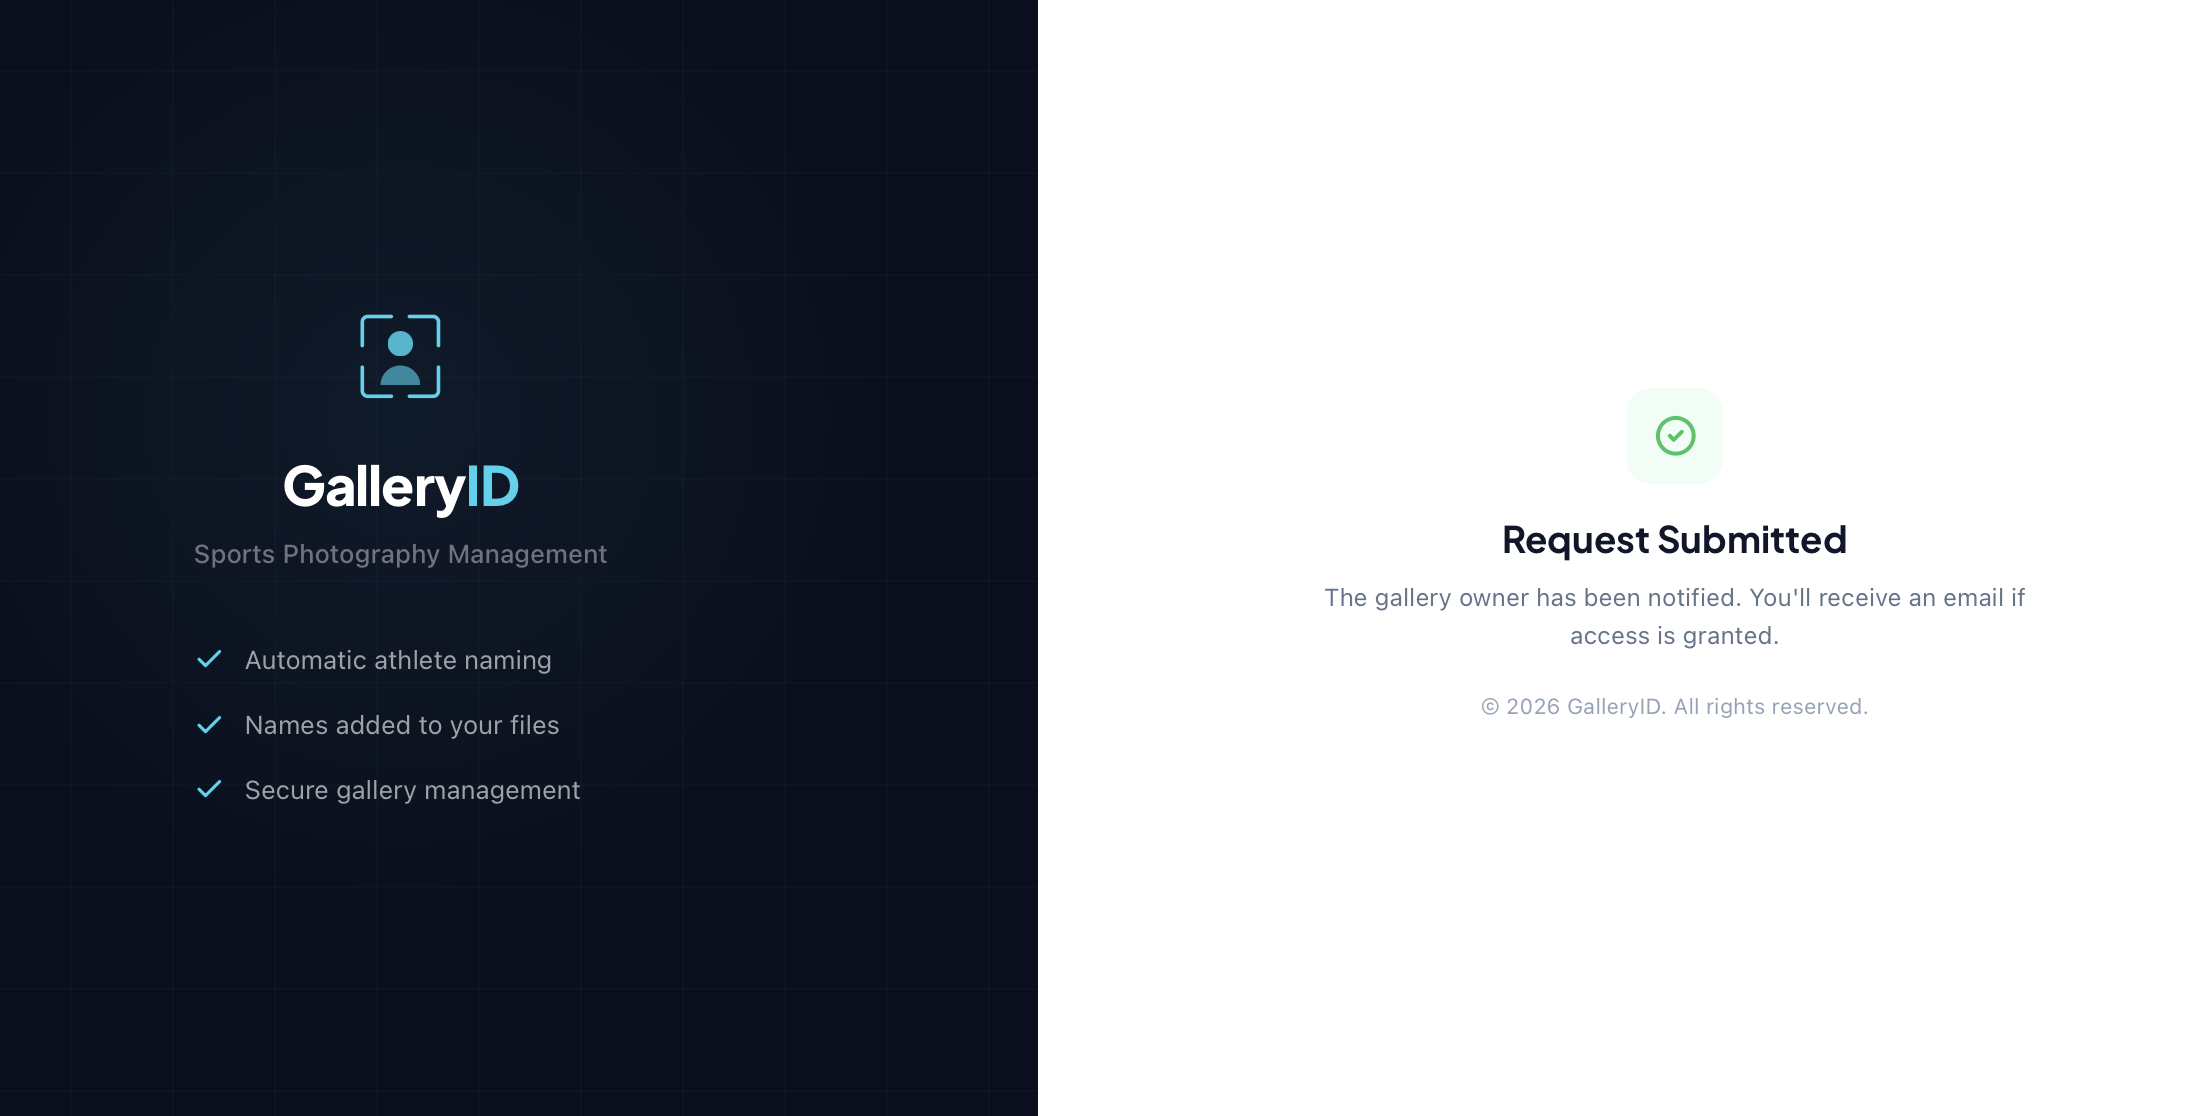
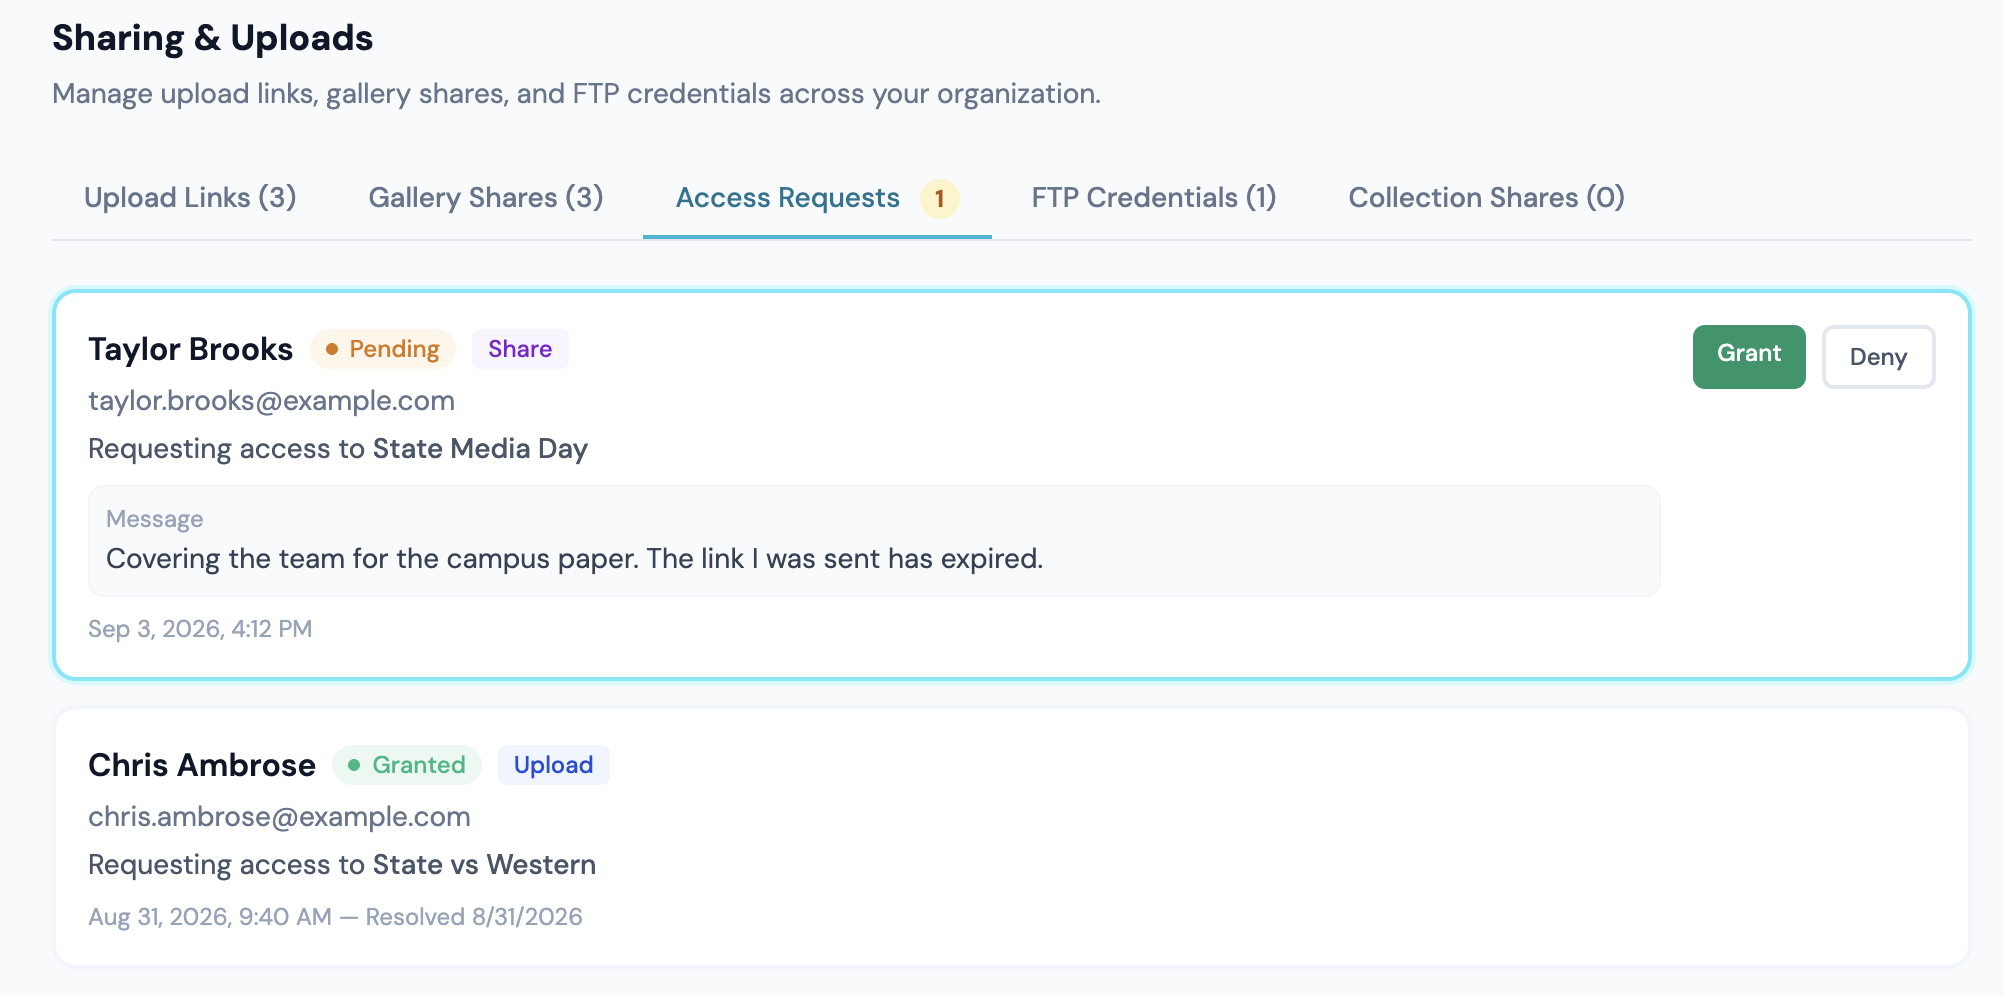
The Previous Links section at the bottom of the Create Upload Link modal lists the links for the gallery you have selected, and lets you copy, resend or delete one. To change a link's expiry or password, or to see each link across the organization in one place, use Sharing & Uploads on the Org Dashboard, that is the only surface with Modify.
- •See active and expired links with creation dates
- •View upload counts and last-used timestamps
- •Copy a link to your clipboard
- •Resend the email invitation
- •Delete links that are no longer needed
Delivering Photos
Three ways photos leave. Whichever you use, the names MatchID wrote travel inside the files.
| Route | What it does | Where it is set up |
|---|---|---|
| Download or ZIP | Pick a resolution and download from the gallery or the Photos page. Names are embedded on the way out. | Gallery toolbar, Photos page |
| FTP export | Send finished photos to your own server or a client’s, with a folder template and an option to wait until names are embedded. Pick a saved destination, or type a one-time host you will not use again. | Org Dashboard › FTP Destinations, then Send to FTP on a gallery |
| PhotoShelter export | Send finished photos straight into your PhotoShelter account. Connect PhotoShelter first; the option appears in the same Send to FTP window once it is configured. | Org Dashboard › PhotoShelter, then Send to FTP on a gallery |
FTP Upload (Inbound)
Organization admins can create FTP credentials that let photographers upload photos directly to GalleryID via any standard FTP client (FileZilla, Cyberduck, Transmit, etc.), no browser needed.
Setting Up FTP Access
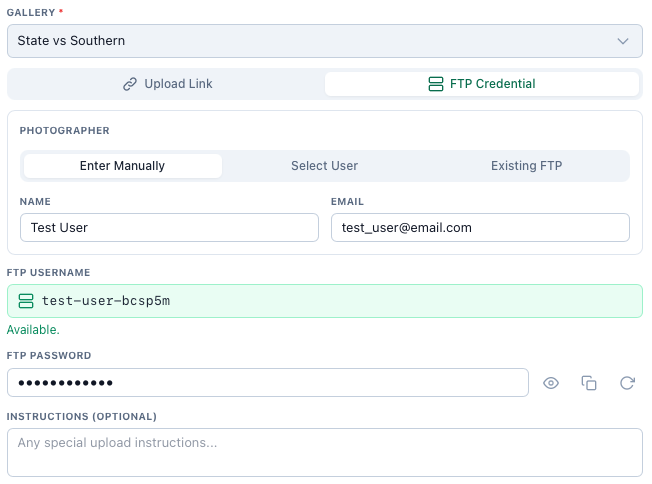
- 1
Create credentials
In Settings → FTP Credentials, click Add and assign the credential to a user. - 2
Set a destination folder
Choose which folder in the gallery tree incoming photos land in. - 3
Share connection details
Give the photographer the host, port, username, and password so they can connect.
Connection Details
| Setting | Value |
|---|---|
| Host | ftp.galleryid.ai |
| Port | 21 |
| Protocol | FTP (Plain) |
| Mode | Passive |
Galleries created from FTP uploads follow the naming convention: LIVE: {YYYY-MM-DD}_{displayName}
Managing Credentials
- •Toggle credentials active or inactive without deleting them
- •Edit the assigned folder or password at any time
- •Passwords are encrypted, click Decrypt to reveal temporarily
After Uploading
Regardless of how photos arrive, browser, upload link, or FTP, they go through the same automatic processing pipeline.
Processing Pipeline
Whichever way photos arrive, the same three things happen next.
Processing Status

The gallery footer tracks processing while it runs, and updates on its own.
| What you see | Meaning |
|---|---|
| Processing 34/120… | 34 of 120 photos have been through processing so far. |
| 120 indexed | Each photo has been analyzed. Not each photo has a face in it, only that none are still waiting. |
| No processing line | Nothing processed yet for this gallery, or recognition is off for it. |
Troubleshooting
Upload Issues
| Issue | Solution |
|---|---|
| File too large | Reduce image size to under 50 MB, or use a different format |
| Unsupported format | Convert to JPEG or PNG, see the format table above |
| Network error | Check your internet connection and retry |
| Storage limit reached | Upgrade your plan or delete old galleries to free space |
| Upload link expired | Ask the gallery owner for a new link |
| Upload link limit reached | Ask the gallery owner to increase the limit or create a new link |
Processing Issues
| Issue | Solution |
|---|---|
| Photos stuck on "Pending" | Wait a few minutes, large batches take time to queue |
| No faces detected | Check that photos are at least 200x200 pixels and not corrupted |
| Poor match quality | Ensure roster matching is configured and upload original resolution |
| Errors after upload | Try re-indexing the gallery from the toolbar |
FTP Issues
| Issue | Solution |
|---|---|
| Connection refused | Verify host, port, and protocol, use the Test button |
| Authentication failed | Double-check username and password |
| Permission denied | Ensure the FTP account has write access to the path |
| Files not appearing | FTP uploads process asynchronously, wait a few minutes and refresh |
Related