MatchID
Approve and reject MatchID matches
Overview
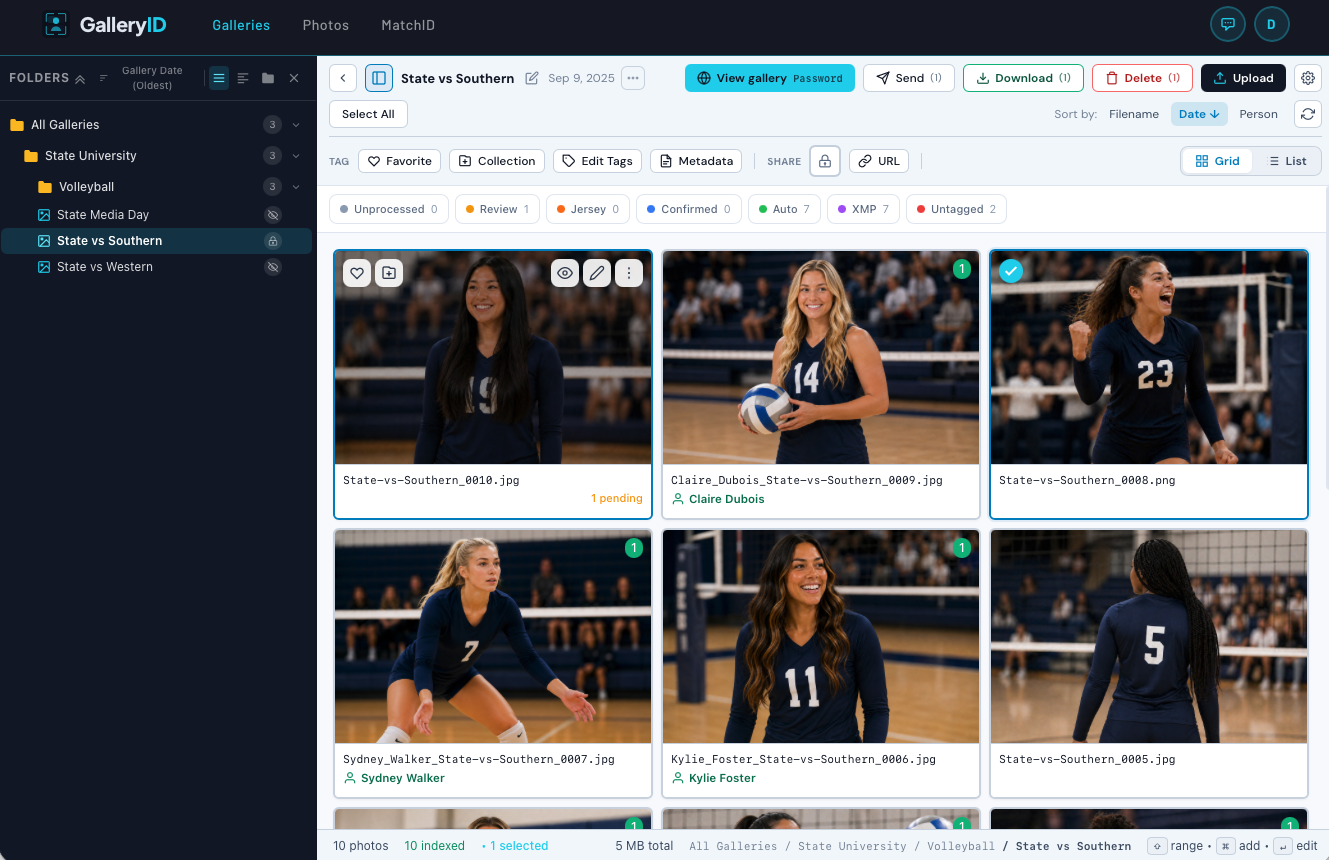
The Photo Review page is your dedicated workspace for reviewing facial recognition results. Select a gallery from the sidebar and you'll see each photo as a card with its pending matches, approved tags, and editable metadata. Galleries with pending matches are sorted to the top so you can focus on what needs attention first.
Roster Matching: Gallery Setup
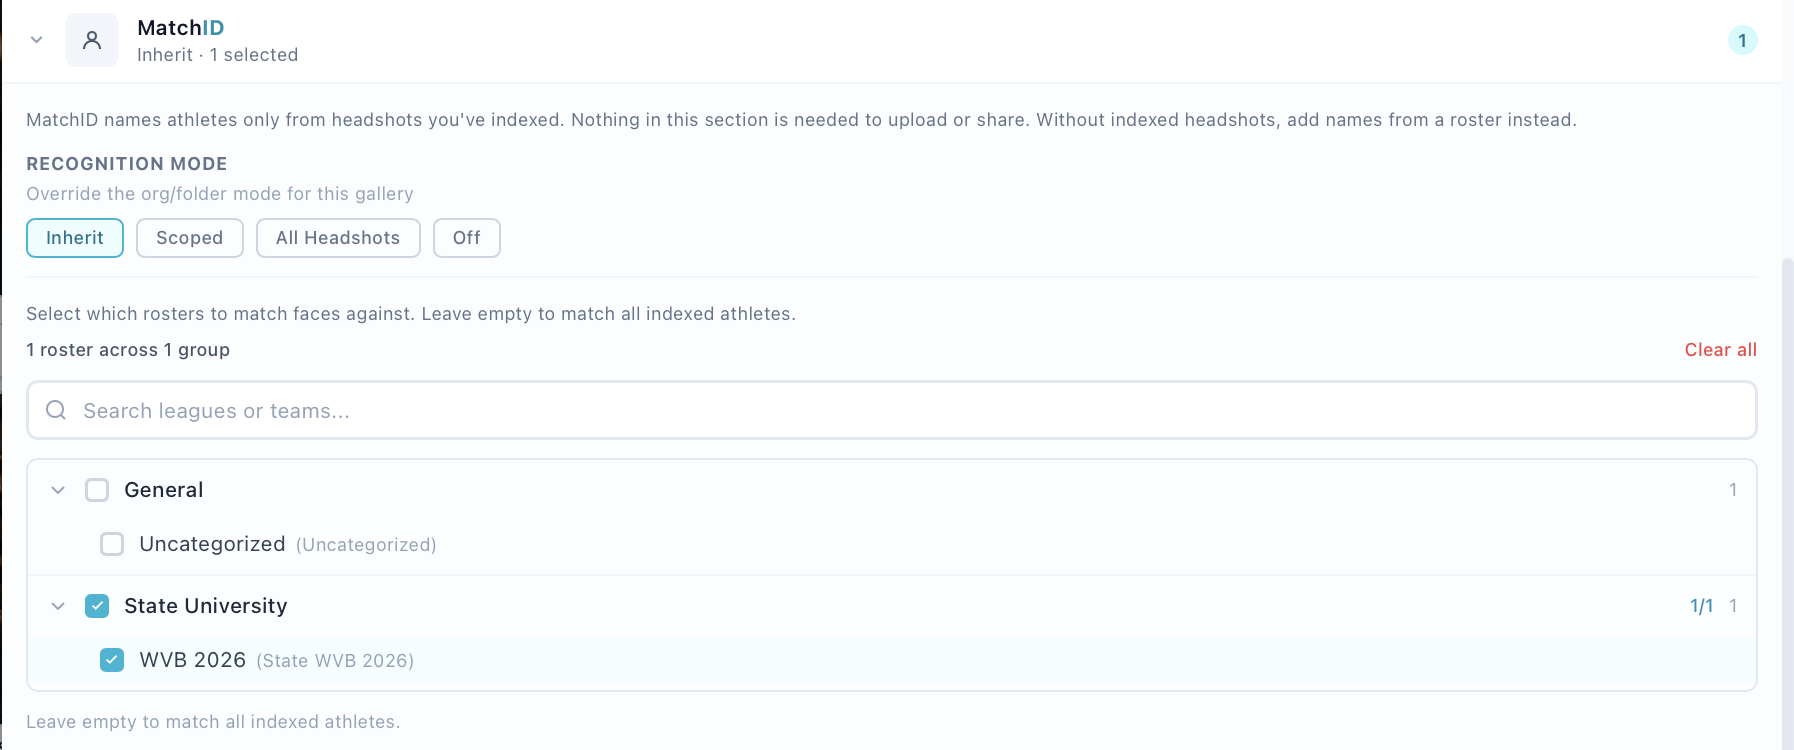
For the person search to show the right athletes, each gallery needs a roster matching scope , the teams that the system should match against. Without a scope set, person search returns no results by default. You can toggle to "All Indexed" to search your full athlete database when needed.
How to Set Roster Matching on a Gallery
- 1
Open the Gallery Browser
Navigate to the Gallery Browser page and find your gallery. - 2
Open gallery settings
Right-click the gallery card or click the ⋯ menu, then select "Edit". - 3
Set the roster matching teams
In the gallery edit form, find the "Roster Matching" section. Select a category (e.g., "Cal Athletics", "Riverside Athletics") on the left, then check the specific teams on the right. You can select teams from multiple categories. - 4
Save
The scope takes effect immediately. From now on, person search and face processing in this gallery will be limited to athletes on those teams.
How Roster Matching Works
- •Gallery stores face_scope_subcategory_ids, an array of team IDs selected in Roster Matching
- •Categories organize athletes into groups (e.g., "Cal Athletics") with subcategories for teams (e.g., "Football", "Basketball")
- •Person search defaults to athletes from the teams selected in Roster Matching
- •Results are filtered to only athletes on the selected teams
- •Typing a jersey number like "10" returns only #10 athletes on those teams
- •Toggle to "All Indexed" to expand search to your full athlete database
- •Without a scope set, person search returns no results, toggle to "All Indexed" or set a roster scope
Reviewing Face Matches
Who can approve and reject
The approve and reject controls appear only for people whose access to the folder or gallery includes the Edit Tags capability. Tagger, Photographer, Editor and Folder Admin grants include it; Viewer, Downloader and Contributor grants do not. A photographer also has full control of any gallery they are photographer of record on. If you can open a gallery but the controls are missing, ask your organization admin to change your role on that folder under Users → Folder Access. The account type shown on the Users list is not what decides this.
What you see, and what you don't
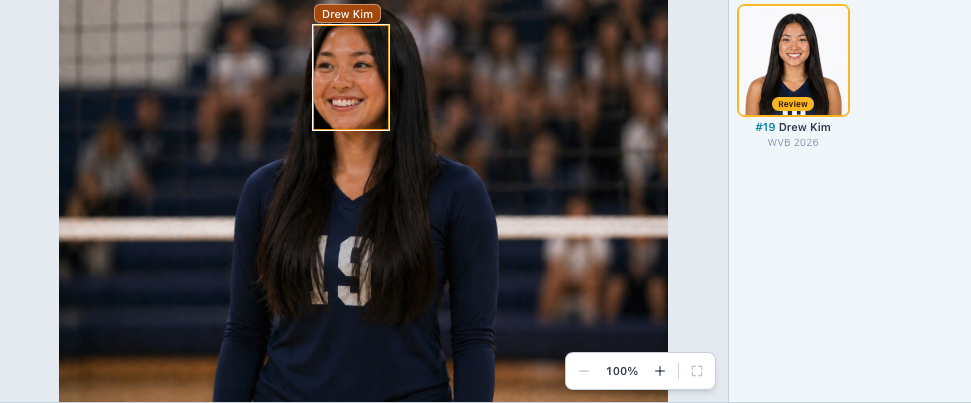
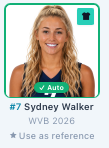
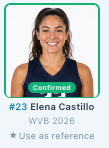
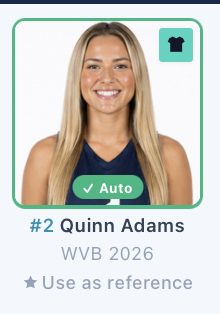
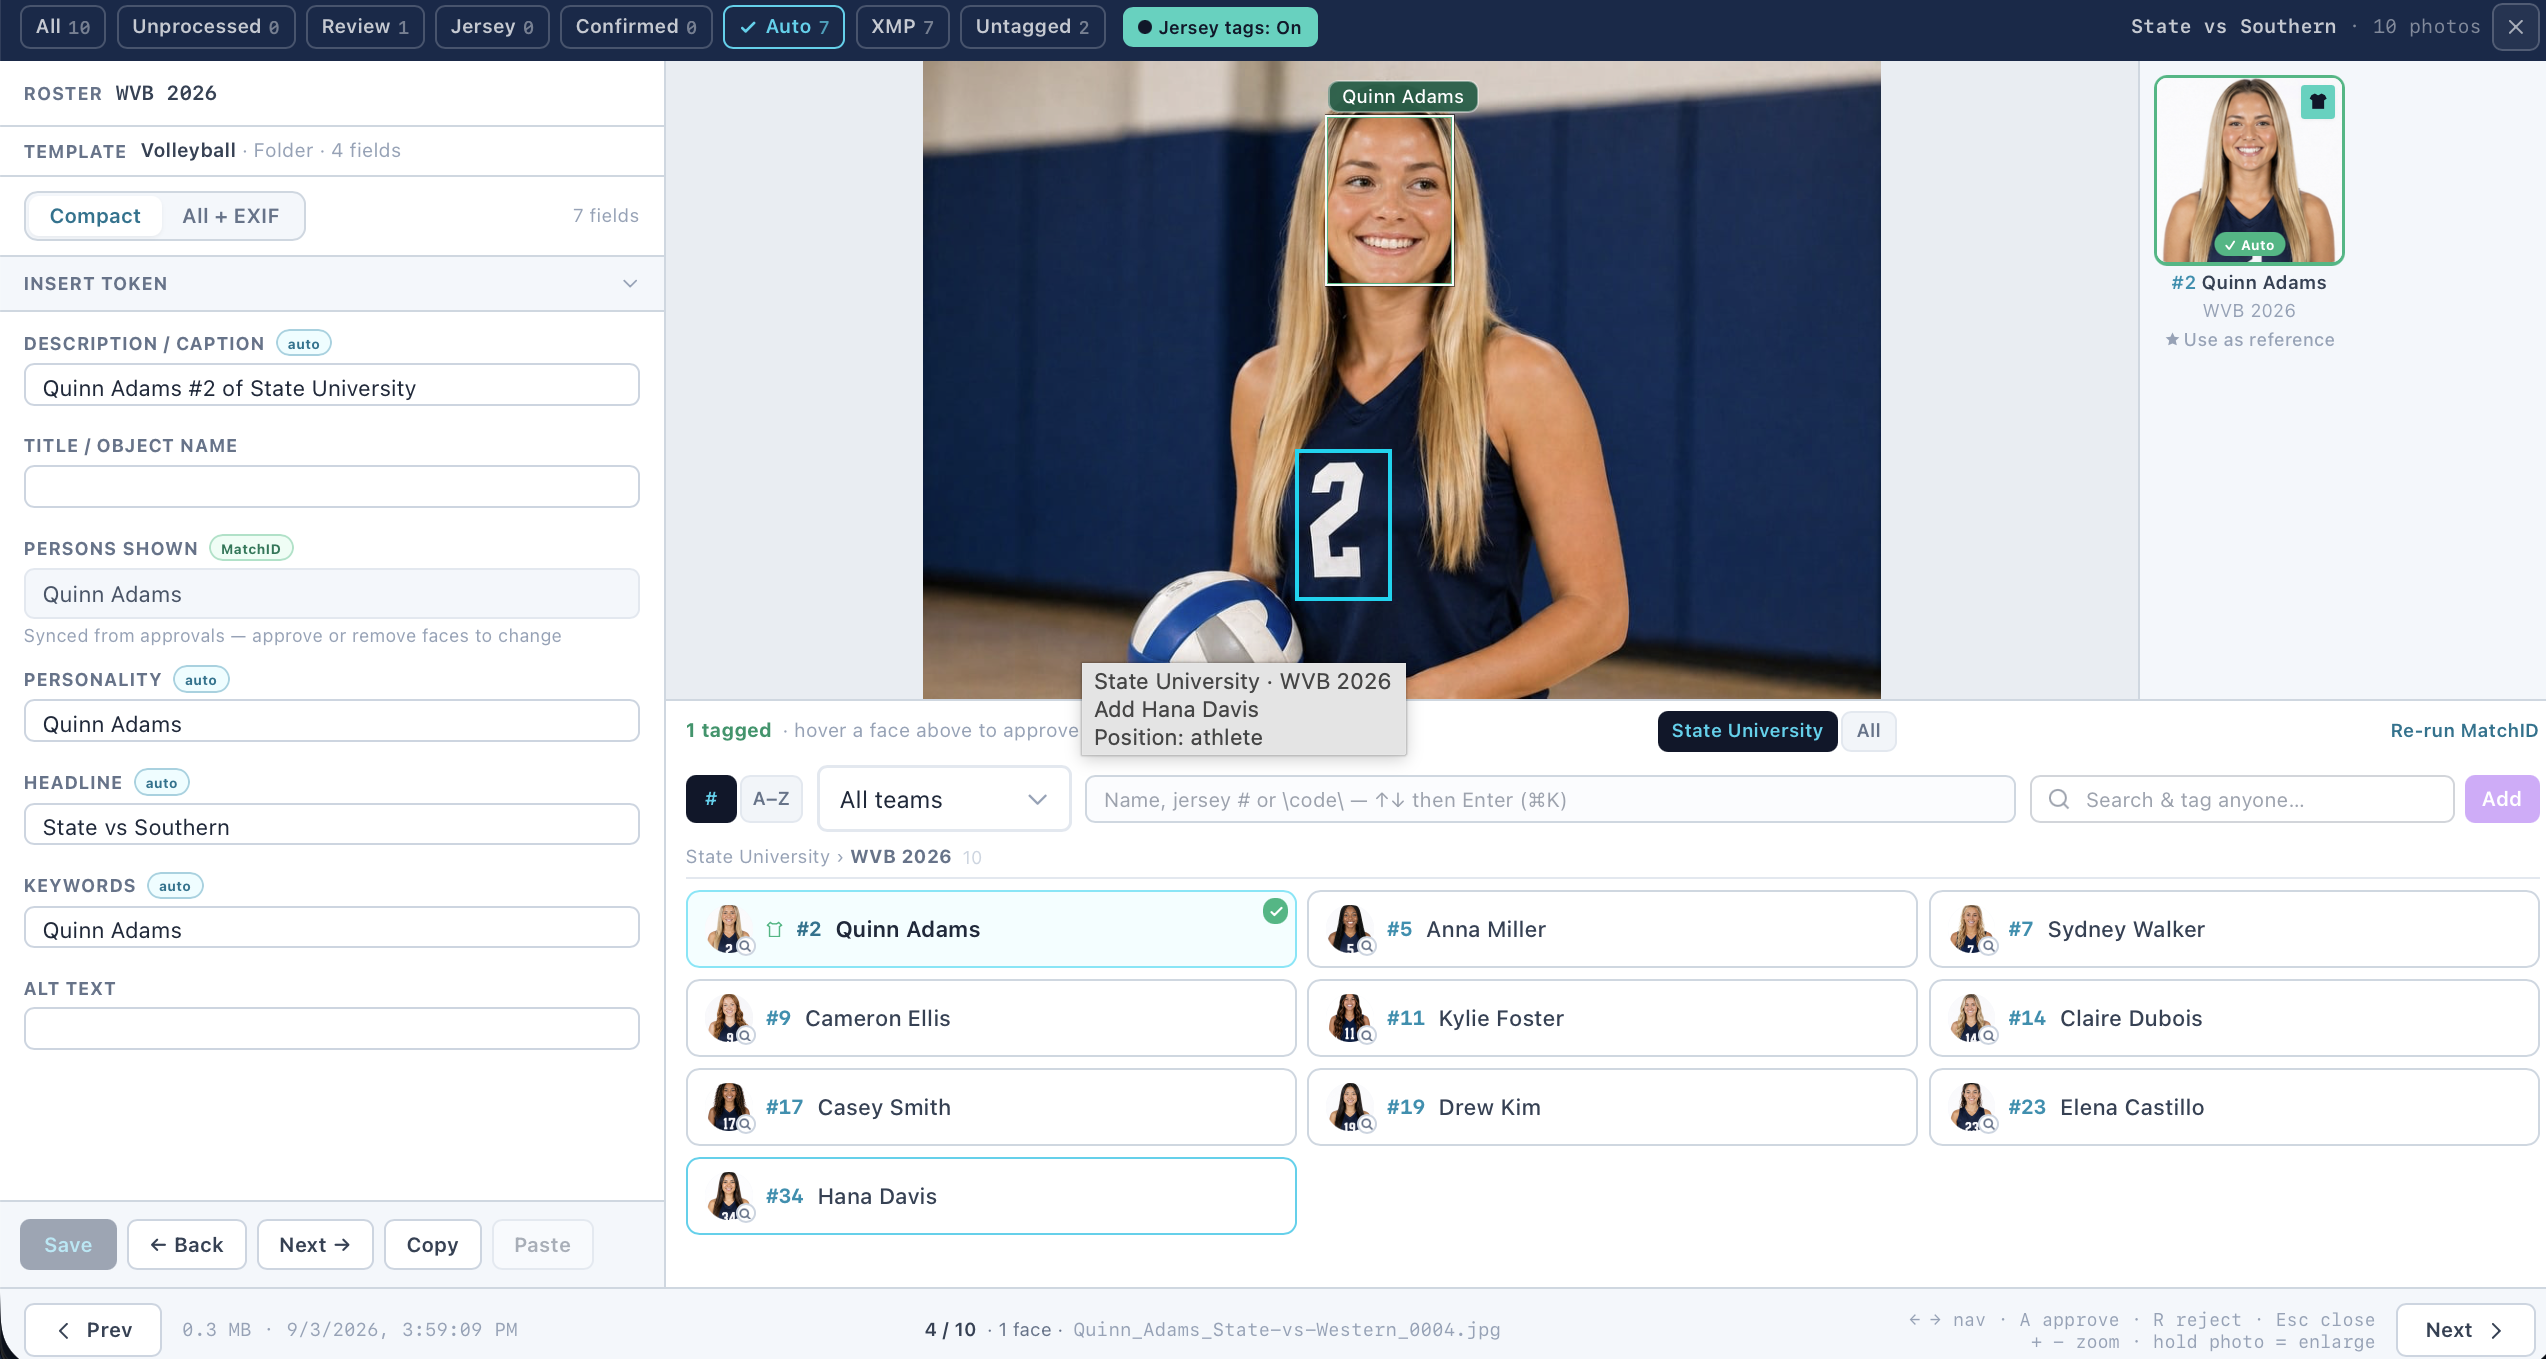
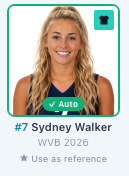
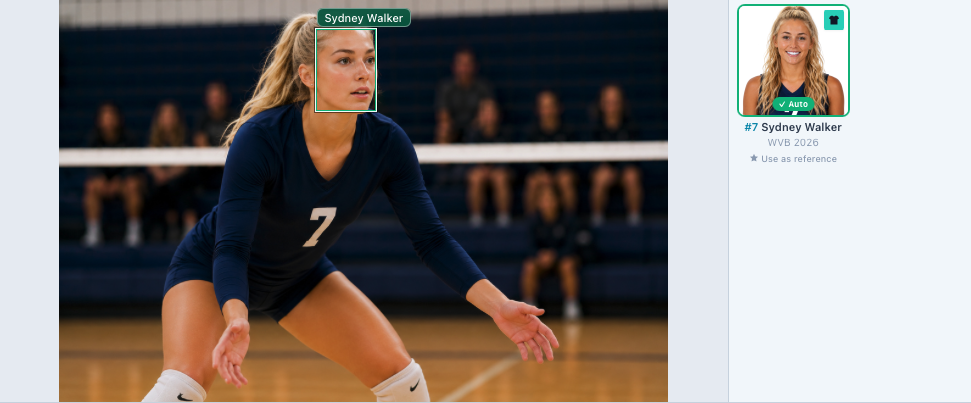
A pending match is a name beside the detected face, nothing more. GalleryID does not show a confidence score or percentage for a match, by design: the decision is yours, or it was made by the auto-approve level your organization set. A match that cleared that level is already written and carries an Autobadge. One that did not waits for you with a Review badge.
Match Status
| Status | Badge Color | Meaning |
|---|---|---|
| Pending | Amber | AI found a match, needs human confirmation |
| Approved | Green | Confirmed correct by a reviewer |
| Auto-approved | Blue | High confidence match, approved automatically |
| Rejected | Red | Match was incorrect, person dismissed |
Approve & Reject
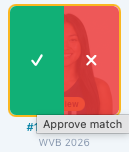
Each pending match appears as a compact two-line row. The first line shows a source badge and the person's name with approve/reject buttons. The second line (when available) shows position, jersey number, team. Click the green checkmark to approve or the red X to reject.
- •Approving adds the person to the photo's XMP tags (xmp_persons)
- •Rejecting removes the match, the person won't be associated with that photo
- •Approved matches move to the Tagged People section as unified tag rows
Taking a whole photo at once
When a photo has several pending matches, two links appear beside the pending count: Approve all and Reject all. They act on every pending match on the current photo, and the keyboard does the same thing.
| Action | Key | What It Does |
|---|---|---|
| Approve all | A | Approve every pending match on this photo |
| Reject all | R | Reject every pending match on this photo |
Jersey-Only Matches
Some matches are based solely on jersey number detection (OCR), not face similarity. These appear with distinct visual styling so you can tell them apart from real MatchID matches:
| Indicator | Meaning |
|---|---|
| Orange background | This match was made by jersey number only, no face was compared |
| # badge (instead of headshot) | Shows the detected jersey number |
| "Jersey Only" label | Confirms this is a number-based match, not a MatchID match |
Adding Reference Photos from Reviews
While reviewing photos, you may notice a clear shot of an athlete, good lighting, visible face, recognizable angle. You can add that photo directly as a reference to improve future matching, without leaving the review workflow.
How to Add a Reference Photo
- 1
Find a good photo
Look for photos where the athlete's face is clearly visible. Sideline shots, celebration moments, and pre-game warmups work well. - 2
Click "+ Add as Reference Photo"
Below the tag input on each photo card, click the link. This opens the reference modal. - 3
Select a face
If the photo has multiple detected faces, choose which face to use. Jersey-only detections are automatically filtered out since they don't have usable face data. - 4
Assign to a person
Search by name or jersey number. The system suggests people already tagged in the photo. Select the person this reference should be linked to. - 5
Choose a photo type
Classify the reference, Action, Helmet On, Sideline, Sunglasses, Headshot, or Other. This helps the system understand what kind of variation this reference adds. - 6
Click "Add Reference"
The photo is saved as a reference and sent to the AI for embedding. Future gallery processing will use this reference for matching.
Reference Photo Indicators
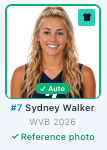
Photos that have been used as reference photos are visually marked in the review grid:
| Indicator | Where | What It Means |
|---|---|---|
| Purple circle icon | Top-left of photo thumbnail | This photo has been used as a reference (hover for tooltip) |
| Purple card border | Around the entire card | Quick visual distinction from non-reference photos |
| "✓ Already a Reference · Add Another" | Below tag input | Replaces the default "+ Add as Reference Photo" link |
| Purple info banner in modal | Top of Add Reference modal | Warns you this photo is already a reference |
Best Practices for Gallery References
- •Sideline and warmup shots make the best references, clear faces, good lighting, natural angles
- •Helmet-on references noticeably improve football matching (a face that barely registers bare-headed can clear the bar with a helmet reference)
- •Don't reference motion-blurred photos, if you can't see the face clearly, the AI can't either
- •Adding 2–3 diverse references per athlete is usually enough to cover most conditions
- •References are indexed automatically, the status updates from Pending to Indexed shortly after
Manual Tagging
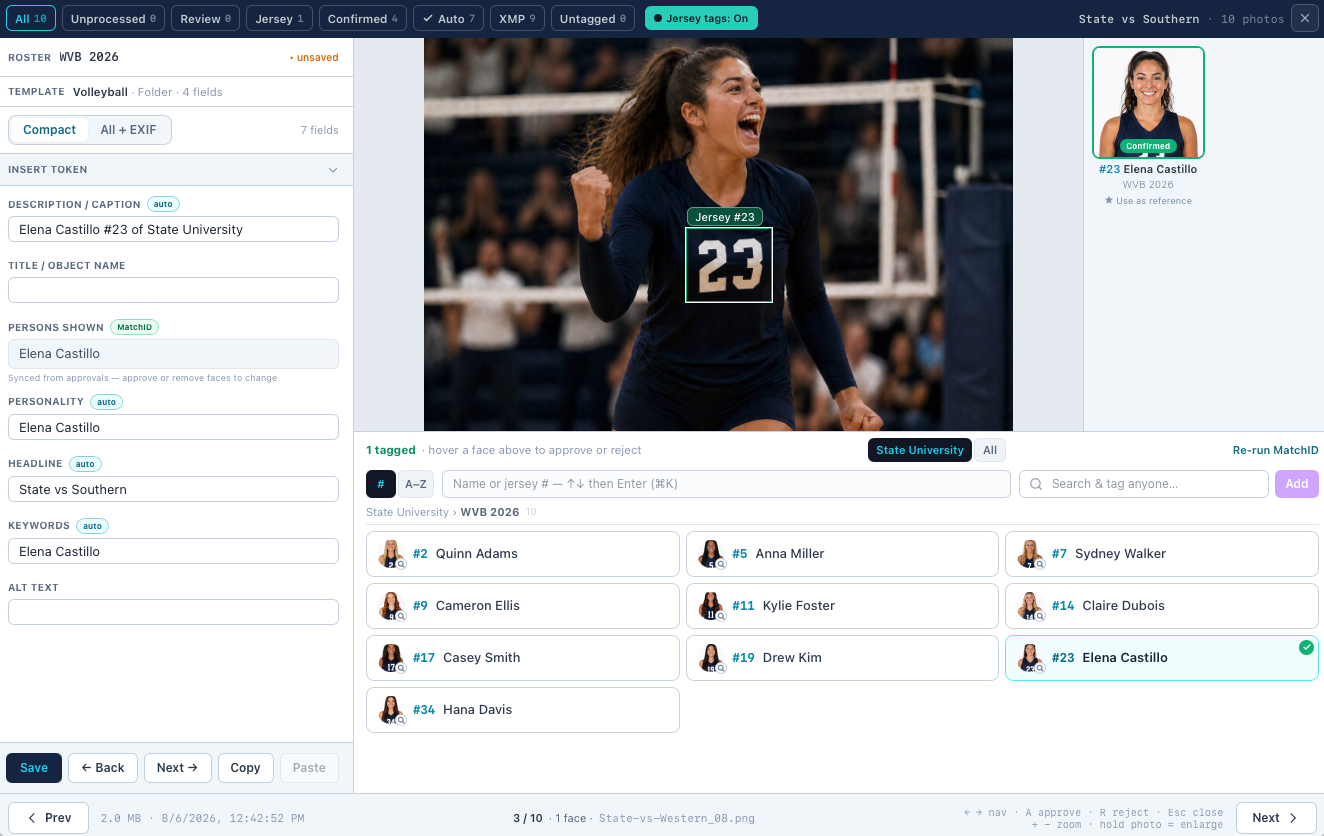
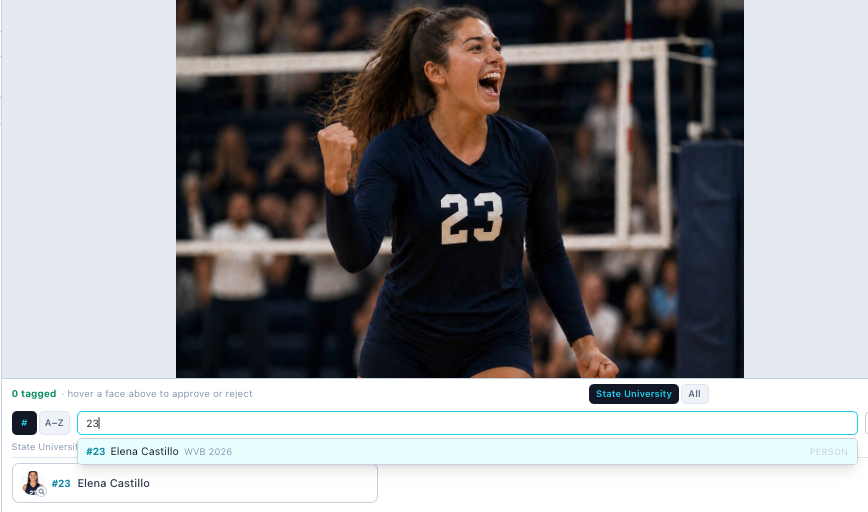
Each photo card has a search input for manually tagging people. This works the same as the person search in the Gallery Browser, type a name or jersey number and select from the dropdown, or add a free-text name for someone not in the database.
Searching People

- •Type a name, searches full_name with fuzzy matching (e.g., "Mar" finds "Marcus Rivera")
- •Type a number, auto-detects and searches jersey number with prefix match (e.g., "1" finds #1, #14, #10)
- •Results show headshot thumbnail, name, jersey number, position, and team name
- •Each result shows an "Indexed" (green) badge for athletes with indexed headshots
- •Dropdown defaults to the gallery's roster matching teams ("Gallery Roster" mode)
- •Toggle to "All Indexed" above the search input to search your full athlete database
Two Types of Tags
| Tag Type | What Happens | Badge Color |
|---|---|---|
| Indexed person | Creates an approved match record + writes to xmp_persons | Green (AI) |
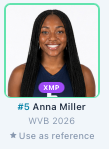
| Free-text name | Writes name to xmp_persons only, no match record | Purple (XMP) |
Tag Rows
Each tag on a photo shows where it came from. The thumbnail badge tells you at a glance; see Match Status above for the full set.
All tags, whether from AI, auto-approval, XMP metadata, or manual entry, display as unified two-line rows. Each row has a colored source badge, the person's name, and a hover-to-show remove button. When detail data is available, a second line shows position, jersey number and team.
| Source Badge | Color | Meaning |
|---|---|---|
| AI | Green | Manually approved MatchID match from AI recognition |
| AUTO | Blue | High-confidence match approved automatically |
| XMP | Purple | From XMP metadata embedded by photographer, or free-text tag |
| M | Sky blue | Manually tagged by a reviewer |
Removing Tags
Hover over any tag row to reveal the × button on the right side. Clicking it removes the name from xmp_persons and, if there's an associated MatchID match, rejects that match.
Editing Photo Metadata
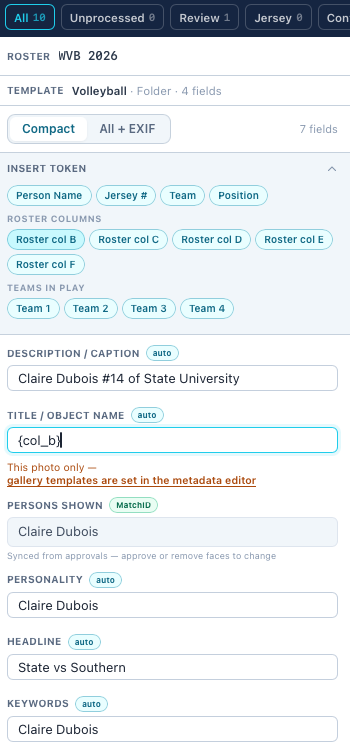
Each photo card has a collapsible "Metadata" section. Click it to expand and edit four fields:
| Field | XMP Mapping | Description |
|---|---|---|
| Headline | Xmp.photoshop.Headline | Short description, typically auto-generated from event title |
| Title | Xmp.dc.title | Photo title for cataloging |
| Caption | Xmp.dc.description | Longer description or context for the photo |
| Persons Shown | Xmp.iptc.PersonInImage | Comma-separated names (manual, independent of AI tags) |
Toolbar Filters

The toolbar provides quick filters to focus on specific photos. New sub-filters let you separate MatchID matches from jersey-only matches:
| Filter | Shows |
|---|---|
| All | Each photo in the gallery |
| Pending (N) | Only photos with at least one pending match of any type |
| Faces (N) | Only photos with pending MatchID matches (real face similarity) |
| Jersey (N) | Only photos with pending jersey-only matches (number detection only) |
| Done (N) | Only photos with approved/auto-approved matches |
| No Matches | Photos where no faces were detected |
The Faces and Jersey sub-filters only appear when there are matches of that type in the current gallery. This keeps the toolbar clean for galleries without jersey matching.
Save & Rebake
After approving, rejecting, tagging, or editing metadata, click "Save & Rebake" in the toolbar to persist all changes. This:
- •Writes approved_people to each photo from approved match records
- •Saves edited metadata fields (headline, title, caption, persons_shown)
- •Updates gallery-level metadata if changed
- •Triggers an XMP rebake on the VPS, embedding updated tags into the actual photo files
- •Refreshes gallery match counts in the sidebar
Refresh & Data Sync
Refresh Button
The circular-arrows icon in the review toolbar reloads the current gallery's data from the database without a full page reload. Use it after making changes outside the review page (e.g., uploading new photos, running facial recognition) to see updated results without navigating away.
Auto-Refresh on Modal Close
When you close the review modal after approving, rejecting, or tagging, the gallery data automatically refreshes. This ensures filters, match counts, and person badges are immediately up to date without needing to manually reload.
Filtered Photo Navigation
When you filter photos by person name and then open the review modal, navigation only cycles through the filtered set. For example, filtering to "Jamie" showing 8 photos means the modal shows "1 of 8" and only navigates those 8, not the full gallery.
Grid Layout
Use the column toggle in the toolbar to switch between 2-column and 3-column layouts on desktop. On mobile, photos always display in a single column. The 2-column layout gives more room for metadata and match details, while 3-column fits more photos on screen at once.
Related